Pages

Showing posts with label DIY. Show all posts

DIY neon brooch

10 April 2013

This is a 5 month old makeover I had forgotten about. My father bought at a flee market for a euro (?) or less these vintage brooches. What else I could do with them, than to give them a fresh look with neon colours! It doesn't look like neon, but it is. It's just the filter effect from Instagram that changed the original colour... If you really wanna see a tutorial (I'm sure noone really needs it) check these out:
    source: Dream + dress
    source: Little Pink Monster
    source: Pop Champagne Blog
    source: The Sparkly Life

Making image quotes

03 April 2013

 
If you want to create your own image - photo quote give it a try at LiveLuvCreate.com

Easy DIY Candy Necklace & Headband

27 March 2013


Just before Christmas holidays I was asked to make some accesories for a colleagues four year old daughter. She had to dress up like a candy for the school Christmas festive. 
So I came up with a candy necklace and a candy headband.   

I would recommend that you make a sample so that you can judge how much candy and ribbon you will need to use.  Also, you can vary it for different holidays by changing the color ribbon and candy used.


Candy necklace -edible

You will need
Plastic wrap 
Ribbon of your choise
Candy also of your choise 
Scissors
clear tape

How to
Lay out about one meter (3 feet) of plastic wrap, cutting it in half lengthwise. Place a few pieces of candy every 10 cm (3 inches).  The exact number will vary based on the size of the candy. You want each section to look full.
Roll the plastic over the candy to cover completely and seal the candy in the middle by rolling each one separetely.
Tie between each section of candy with clear tape. Then tie each end with ribbon 
Tip: you can go with the easy way by using individually wrapped candy. Just put the candies on the row and tie them with small pieces of ribbon.


Hair Candy Headband

You will need
a simple headband
old stuff from christening or wedding favors

How to 
This project was easier than I thought it would be! Maybe because I was in a hurry and finished it in about ten minutes! I made it by wrapping a simple girl-sized headband in white fabric and twist a pink satin ribbon around it and stich it by hand. The topping is made out of white and pink tulle fabric, which I rolled after I stuffed it with a paper ball and tied it up with satin ribbons. All the materials were from wedding or christening favors that I have kept, so I 've recycled them!

The Candy necklace and the caramel headband were a great hit and little Dimitra was very proud of wearing them!
 Isn't she cute?

Sometimes  photos that we shoot by accident can be amazing...  Coco is a cutie also!

DIY Valentine frindged heart

DIY fabric cover for tissue box

Hair Tutorial Pompadour

30 December 2012

A pompadour is a hairstyle commonly worn by greasers in the '50s. The sides are combed back and the top is combed back and up. Usually styled with hair grease, and many coupled a pompadour with a "duck tail or duck butt" which is when the hair in the back has a middle part done by the end of a comb. Named after the Marquise de Pompadour. 
 
It's been a long time since my last vintage hair updo. Back in 90s I used to make a more rockabilly lookalike hair. This time I use the below tutorial from LeoLilies youtube channel.


Another great Chic and Simple Hair Roll Updo Tutorial this time from the amazing astraulian superkawaiimama.


and How to Make a Pompadour Hairstyle (for men) here.

Dancing Snowflakes

17 December 2012

 This year I decided to go with simple decoration for my office. I hanged around 18 paper snowflakes.The materials that I used can be found almost in every office: A4 photocopy paper, a classic paper punch, thread  and a laminator machine. Just that. So simple. Cut, laminate, punch, hang.
 I didn't used a tutorial, it's something that I remember from when I was a child, but you can find a lot with a google search. For example, here is Marthas Stewart tutorial. And patterns here and here to make your life easier.


I was born in a cloud...
Now I am falling. 

I want you to catch me.
Look up and you'll see me.
You know you can hear me. 

The world is so loud. Keep falling. I'll find you.
We're over a forest.
There's millions of snowflakes.
We're dancing. 

 It's midnight at Christmas.
The world is so loud. Keep falling. I'll find you.

In a moment or two.
I'll be with you.


DIY plastic bag storage

09 September 2012

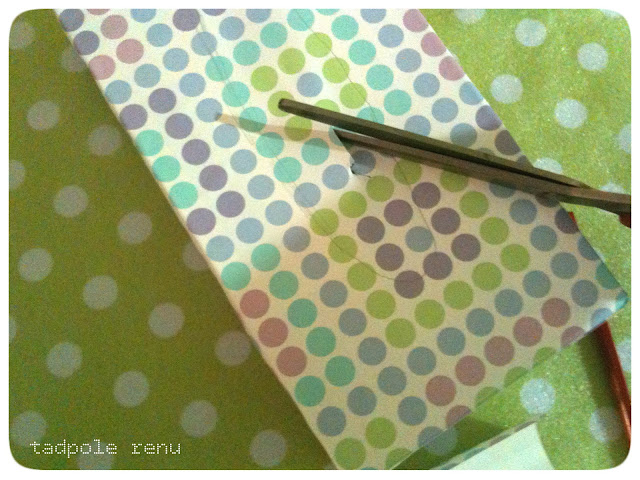
I needed a nice "something" to hold the plastic bags and put it near the front door. I wanted a fast 'n' easy way to collect them immediately. You see dogs are always impatient when they want to go out. And I always had to open the kitcen sink cabinet to find plastic bags.                               materials needed: emtpy tissue box, plastic adhesive roll and scissors.mesure or mark the box on the adhesive
cover carefully the box eith the adhesive plastic 
fold the edges around the sides
trim the excess cover away fold the corners of the plastic
it's easy to mark the inside hole because you can feel the blank 
and last, cut the center as the picture above. Also, it could be a nice idea to make a cover with fabric. I haven' t learned how to sew yet, but when I do I'll give it a try!

p.s. I apologize for the poor quality photos, I have lost my cameras charger...

May Day - Πρωτομαγιά!

02 May 2012


1st of May except of International Workers' Day is also a spring holiday, that can be traced to ancient greek  customs as they celebrated the officially begining of the spring. Making floral wreaths is one of the characteristics customs of May Day, and may also have its roots in ancient greek history.


This is my version of the wreath that I found at PerlillaPets blog, using this tutorial. It's a little bit different and is made out of plastic grocery bags.... hope you like it!


For more information about the greek 1st of May festive visit here: Πρωτομαγιά - Πως καθιερώθηκε


Meet Carole Ann & make recycled Carton Coin Purses

09 August 2010

Carole Ann is a creative girl behind the blog Connect the Dots Crafts . She makes quilts and aprons and loves to recycle. One of her tutorials is about Milk Carton Coin Purses.
I’ve tried myself and also kept some empty cartons for Carole Ann. Here's the whole story: A special package.
 I believe it could be great craft project for kids summer workshop, for the older ones of course! Check it out and tell me what you think!

Renewing a closet

20 May 2010


Well I know these are not the best shots but you can tell the difference, don’t you? I brought this closet when I moved to my new apartment - not a great thing, just a cheap one from IKEA store- and while I was still thinking what to do with it, I decided to renew it, so at least it would match with the rest of my room.


So, I had kept these wonderful paper tableclothes which they actually gave me from a restaurant. The process was very easy: I took the measures and cut them at the size of the plastic sheet. Then I carefully applied glue to the inner side and put the paper on. By placing a piece of clean dry lining paper over the top of the lining paper I smoothed out any air bubbles with the brush.


… and voila!


ShareThis

 
FREE BLOGGER TEMPLATE BY DESIGNER BLOGS